一、配置KGDB相关信息
打开KGDB相关编译选项
diff --git a/arch/arm64/configs/defconfig b/arch/arm64/configs/defconfig
index 5928570672f6..6e2143ab5384 100644
--- a/arch/arm64/configs/defconfig
+++ b/arch/arm64/configs/defconfig
@@ -558,3 +558,13 @@ CONFIG_MEMTEST=y
 # CONFIG_ARCH_RANDOM is not set
 # CONFIG_ARM64_AS_HAS_MTE is not set
 # CONFIG_ARM64_MTE is not set
+CONFIG_KGDB=y
+CONFIG_KGDB_SERIAL_CONSOLE=y
+# CONFIG_KGDB_TESTS is not set
+CONFIG_KGDB_KDB=y
+CONFIG_KDB_DEFAULT_ENABLE=0x1
+# CONFIG_KDB_KEYBOARD is not set
+CONFIG_KDB_CONTINUE_CATASTROPHIC=1
+
+CONFIG_CMDLINE="kgdboc=ttyS1"
+CONFIG_CMDLINE_EXTEND=y
二、辅助工具安装
agent-proxy安装
借助agent-proxy工具进行远程调试。
eg. agent-proxy 5550^5551 0 /dev/ttyUSB2,921600
将/dev/ttyUSB2映射为两个访问端口5550、5551
下载地址:https://git.kernel.org/pub/scm/utils/kernel/kgdb/agent-proxy.git
.png)
cgdb安装
下载地址:https://github.com/cgdb/cgdb
zhilu@ubuntu:~/Desktop/kgdb/cgdb$ sudo apt-get install  libreadline6-dev
zhilu@ubuntu:~/Desktop/kgdb/cgdb$ sudo apt install gdb-multiarch
zhilu@ubuntu:~/Desktop/kgdb/cgdb$ ./autogen.sh
zhilu@ubuntu:~/Desktop/kgdb/cgdb$ ./configure --prefix=/usr/local
zhilu@ubuntu:~/Desktop/kgdb/cgdb$ make
zhilu@ubuntu:~/Desktop/kgdb/cgdb$ sudo make install
三、KGDB调试
使用
agent-proxy创建串口访问端口
输入sudo agent-proxy 5550^5551 0 /dev/ttyUSB2,921600创建端口
.png)
使用telnet访问5550端口访问板子串口
输入telnet localhost 5550访问板子串口
.png)
输入echo 1 > /proc/sys/debug/kdb_on关闭看门狗
.png)
输入echo g > /proc/sysrq-trigger进入KDB
.png)
输入kgdb等待KGDB连接调试
.png)
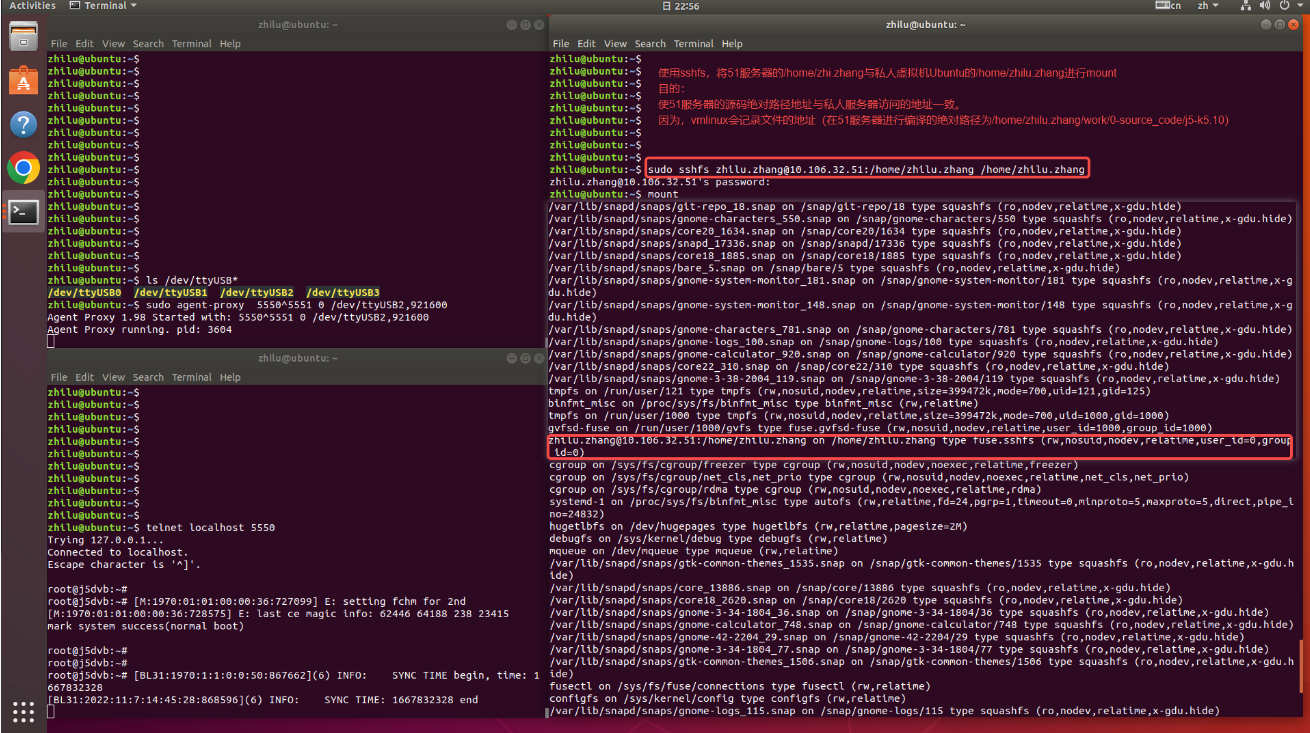
使用sshfs mount文件
要使cgdb可以访问源码路径。
如果无法访问源码,那么会在设置断点的时候报错:
“
No source file named dsffd.
Make breakpoint pending on future shared library load? (y or [n]) y
Breakpoint 3 (dsffd:11) pending.
”
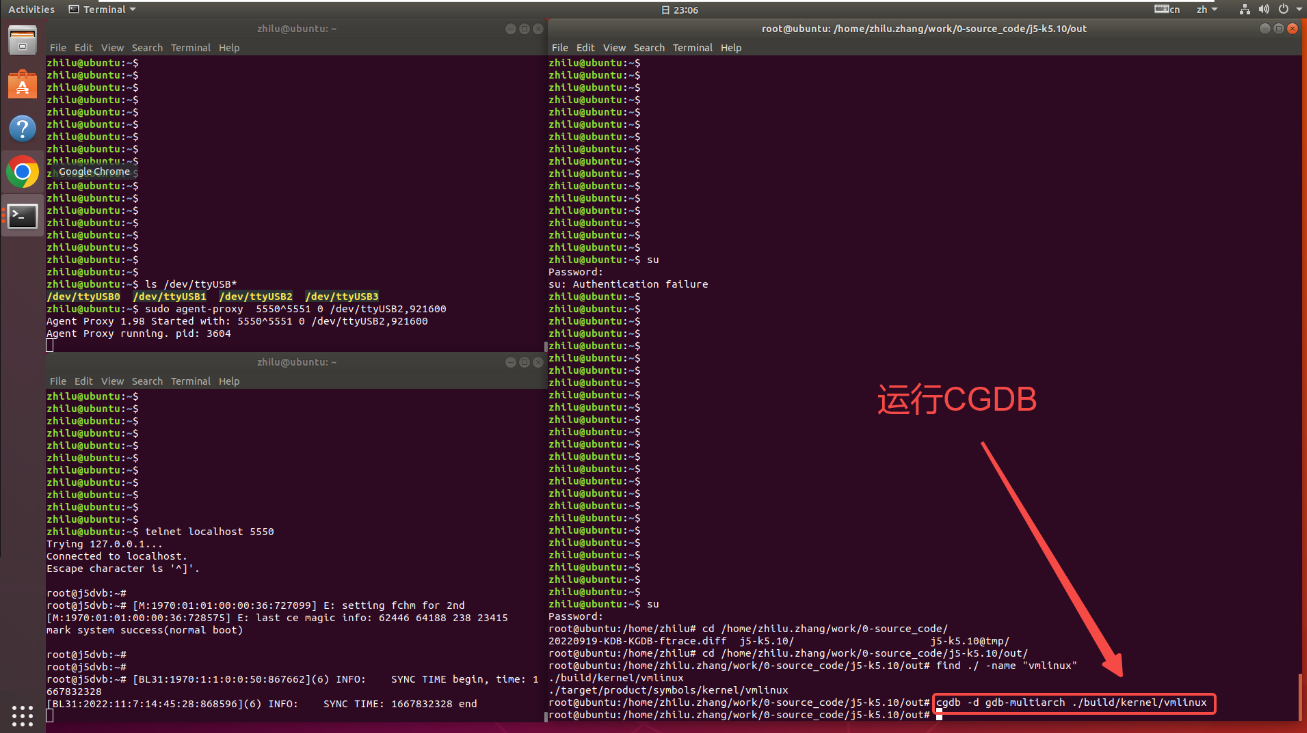
运行CGDB
执行cgdb -d gdb-multiarch ./build/kernel/vmlinux运行cgdb
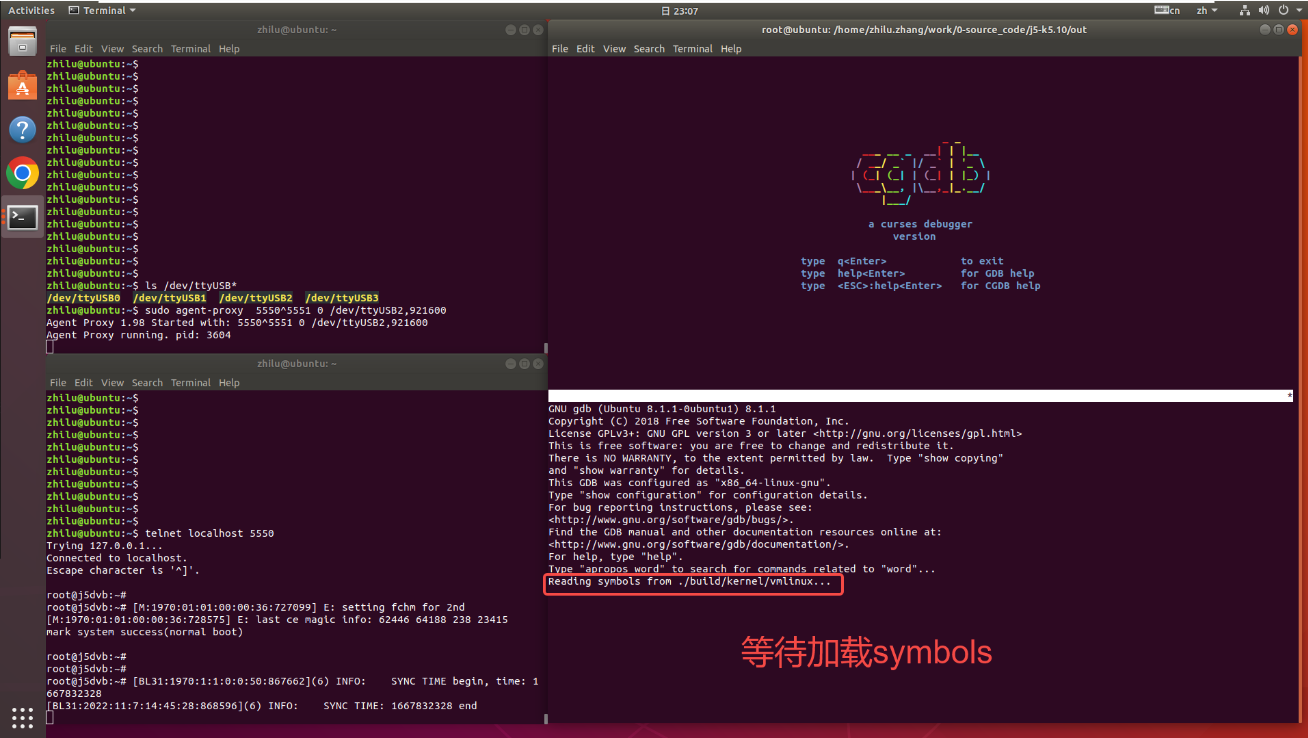
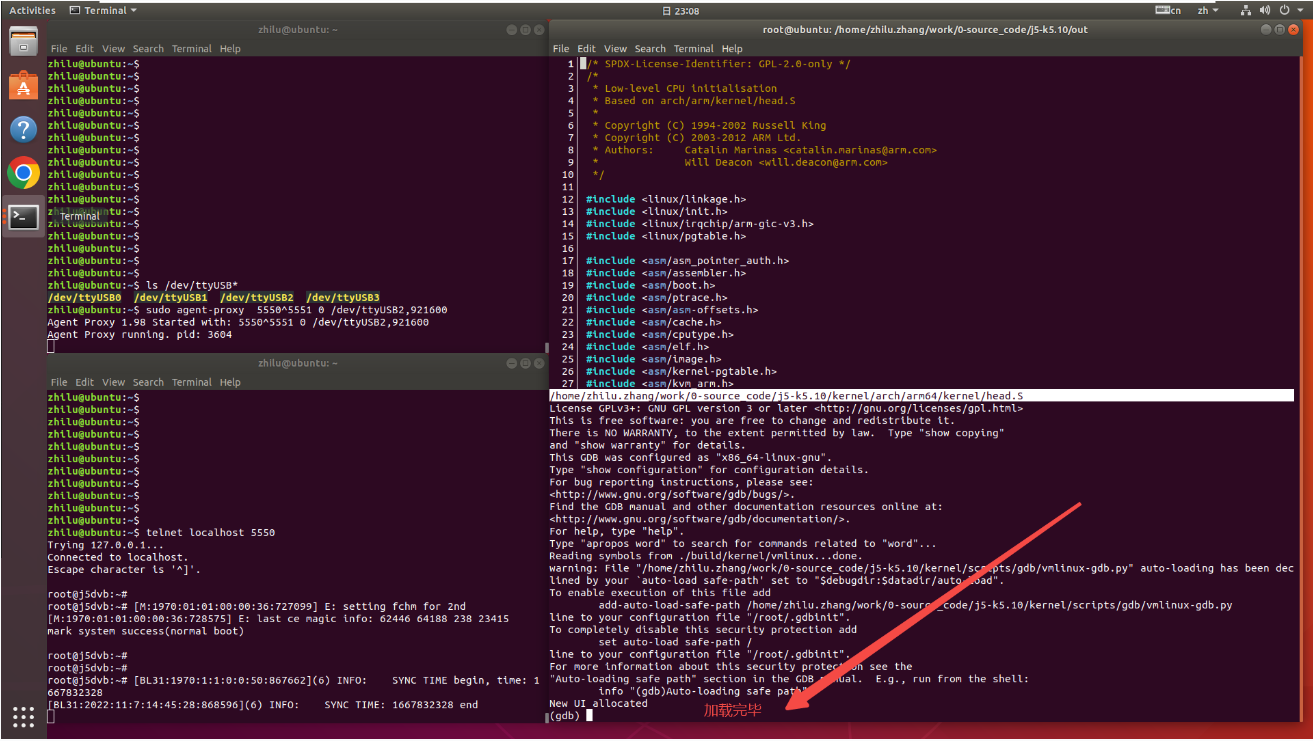
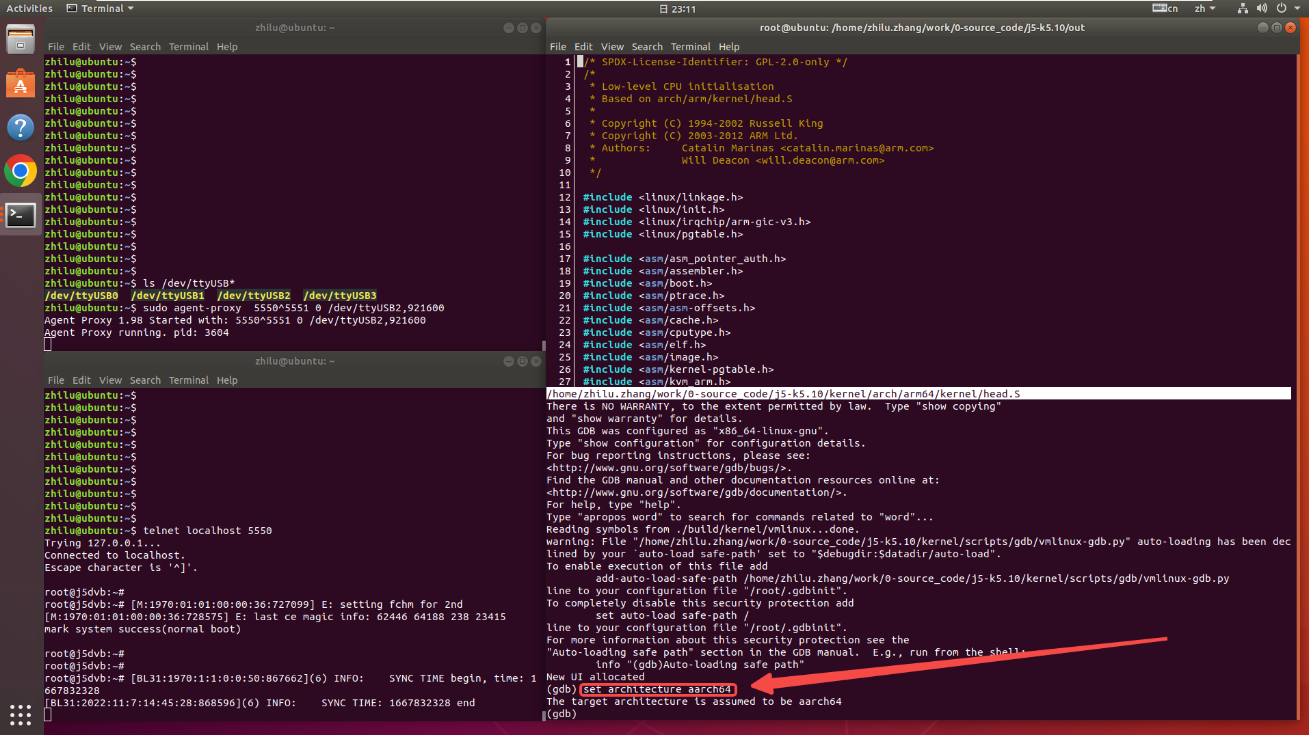
在KGDB设置环境
输入set architecture aarch64
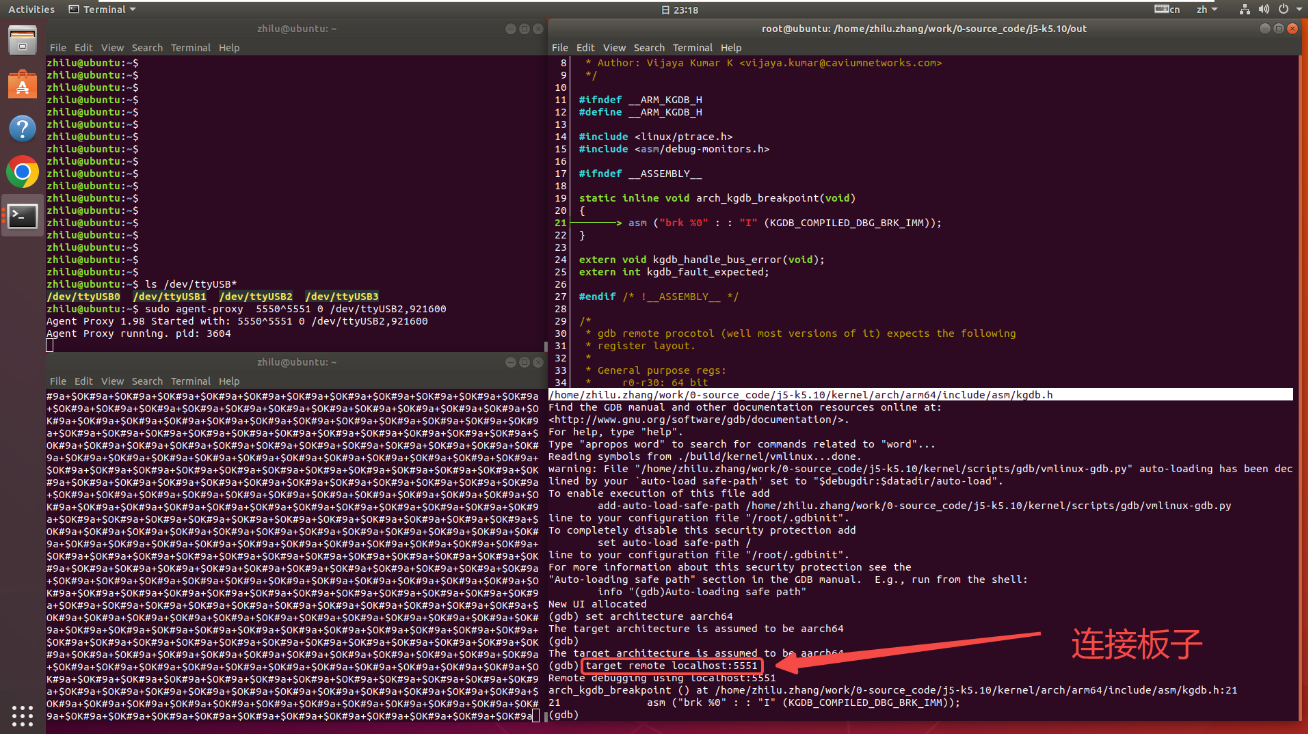
输入target remote localhost:5551连接板子串口,使KGDB与板子建立连接
断点调试
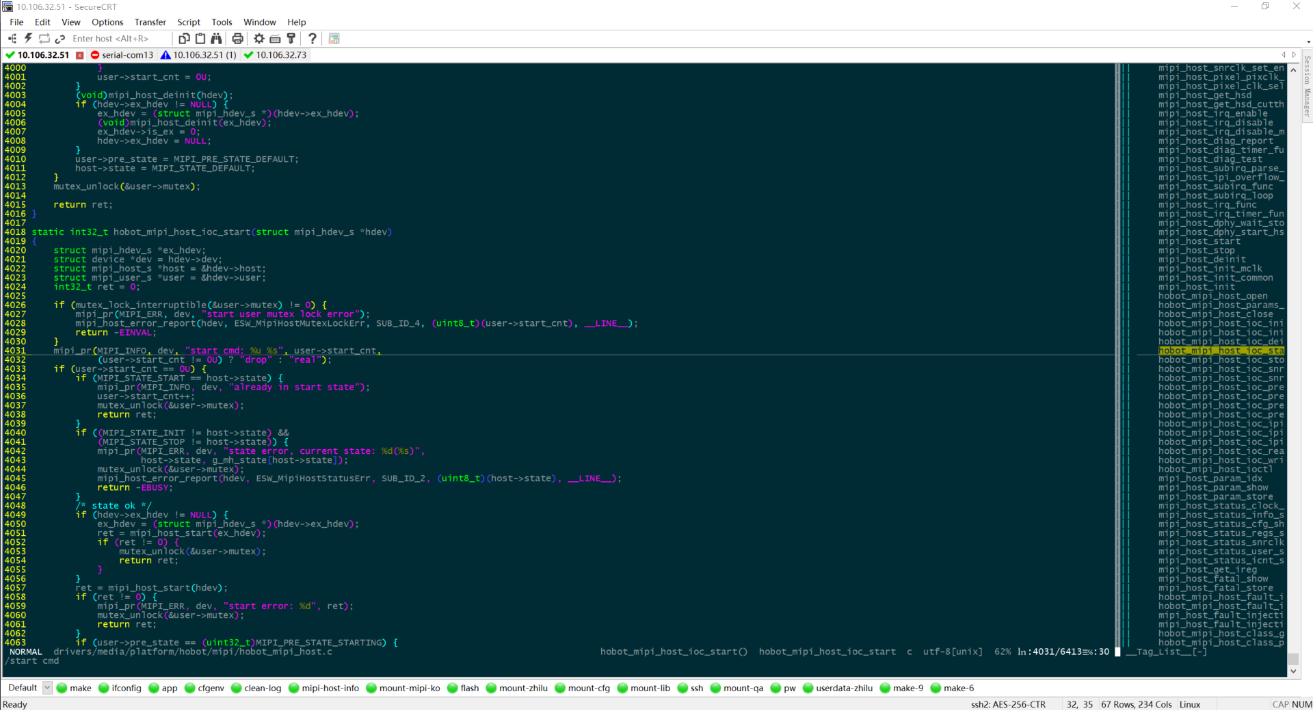
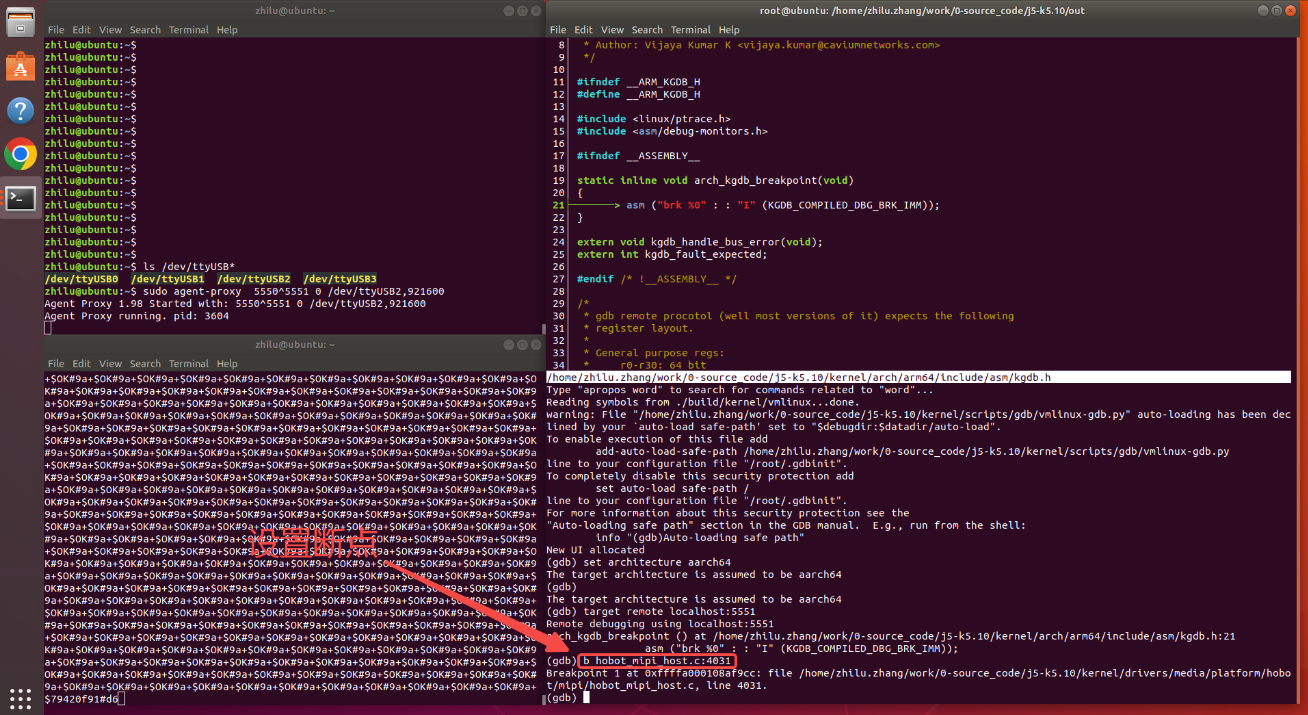
演示在/home/zhilu.zhang/work/0-source_code/j5-k5.10/kernel/drivers/media/platform/hobot/mipi/hobot_mipi_host.c的4031行设置断点
输入b hobot_mipi_host.c:4031设置断点
 输入
输入c运行,此时程序会阻塞住等待断点代码的执行。

在板子上执行测试程序/app/bin/vps/vpm/vio_test_case.sh cicd_sen_cimdma_ddr_isp0_pym0_4k_ar0820,触发断点。
当断点被触发时,CGDB会卡住断点,等待输入调试指令。
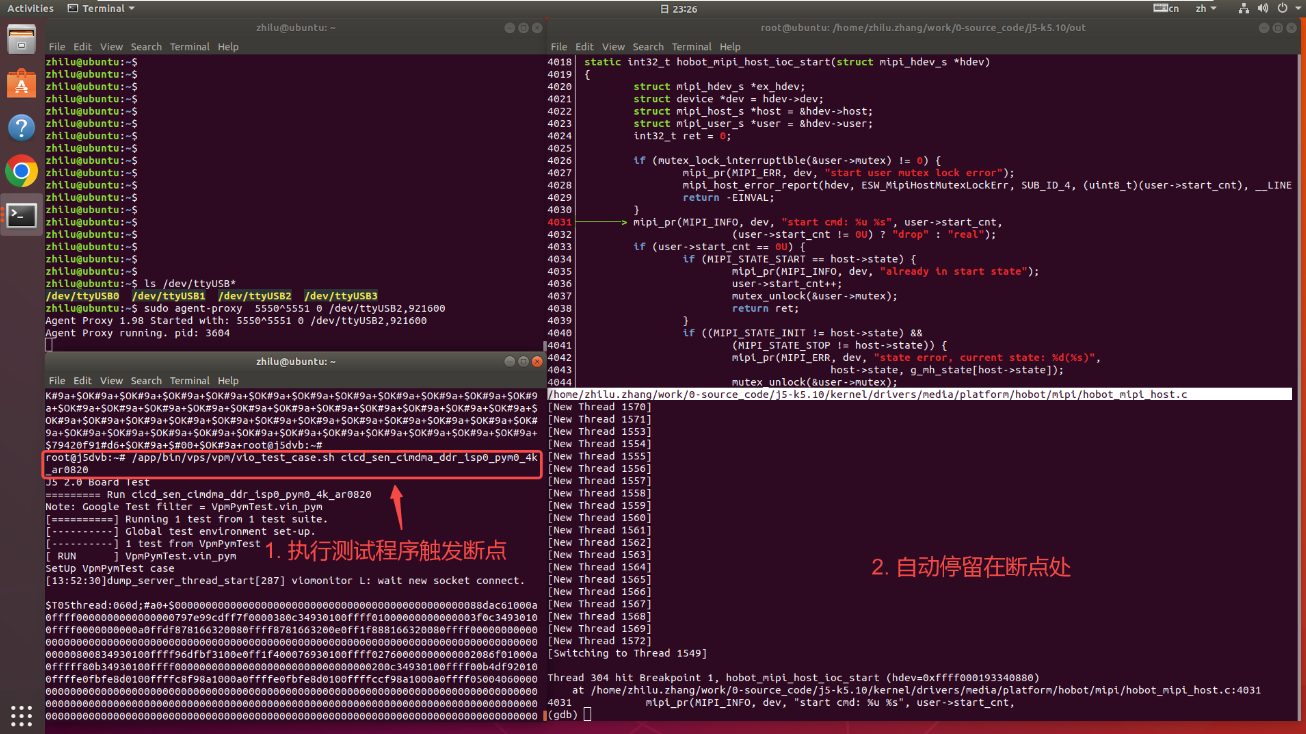
cgdb使用:按Esc进入上面的Source code窗口;按i进度调试窗口。
四、调试KO
修改ko编译选项,增加debug信息
diff --git a/drivers/media/platform/hobot/mipi/Makefile b/drivers/media/platform/hobot/mipi/Makefile
index bad65753b32e..2020ee35c0ec 100644
--- a/drivers/media/platform/hobot/mipi/Makefile
+++ b/drivers/media/platform/hobot/mipi/Makefile
@@ -1,6 +1,7 @@
 # Makefile for the mipi csi device drivers.
 ccflags-$(CONFIG_HOBOT_MIPI_CLK_RECALCULATION) += -DADJUST_CLK_RECALCULATION
+ccflags-y += -g -DDEBUG
 obj-$(CONFIG_HOBOT_MIPI_HOST) += hobot_mipihost.o
 obj-$(CONFIG_HOBOT_MIPI_DEV) += hobot_mipidev.o
 obj-$(CONFIG_HOBOT_MIPI_PHY) += hobot_mipidphy.o
查看ko的代码段
root@j5dvb:/userdata/rw# cat /sys/module/hobot_mipihost/sections/.text
0xffffa00008fe0000
root@j5dvb:/userdata/rw# cat /sys/module/hobot_mipihost/sections/.bss
0xffffa0000901aa00
root@j5dvb:/userdata/rw# cat /sys/module/hobot_mipihost/sections/.data
0xffffa00009008000
cgdb加载symbols
根据上面获取的.text、.data、.bss信息,输入add-symbol-file /home/zhilu.zhang/work/0-source_code/j5-k5.10/out/build/kernel/drivers/media/platform/hobot/mipi/hobot_mipihost.ko 0xffffa00008fe0000 -s .bss 0xffffa0000901aa00 -s .data 0xffffa00009008000
.png)
调试状态正常
设置断点
b hobot_mipi_host.c:4031。执行
c等待触发断点。在板子上执行程序
/app/bin/vps/vpm/vio_test_case.sh cicd_sen_cimdma_ddr_isp0_pym0_4k_ar0820,触发断点。
.png)
可能遇到的问题:no debugging symbols found
解决方法参考:https://stackoverflow.com/questions/28298220/kernel-module-no-debugging-symbols-found
.png)
五、KGDB调试命令
break (b),设置断点。
info break,查看断点信息。
delete 1,删除断点1。
continue (c), 当程序在某一断点处停止后,用该指令可以继续执行,直至遇到断点或者程序结束。
next (n), 令程序一行代码一行代码的执行。
step (s), 如果有调用函数,进入调用的函数内部;否则,和 next 命令的功能一样。
until (u), 当你厌倦了在一个循环体内单步跟踪时,单纯使用 until 命令,可以运行程序直到退出循环体。
until (u) location, until n 命令中,n 为某一行代码的行号,该命令会使程序运行至第 n 行代码处停止。
print (p), 打印指定变量的值,其中 xxx 指的就是某一变量名。
list (l),显示源程序代码的内容,包括各行代码所在的行号。
finish (fi), 结束当前正在执行的函数,并在跳出函数后暂停程序的执行。
return (return), 结束当前调用函数并返回指定值,到上一层函数调用处停止程序执行。
jump(j), 使程序从当前要执行的代码处,直接跳转到指定位置处继续执行后续的代码。
quit (q), 终止调试。
参考文档
[1] KDB & KGDB 相关说明
[2] GDB调试命令详解
[3] kgdb调试支持

